 Save
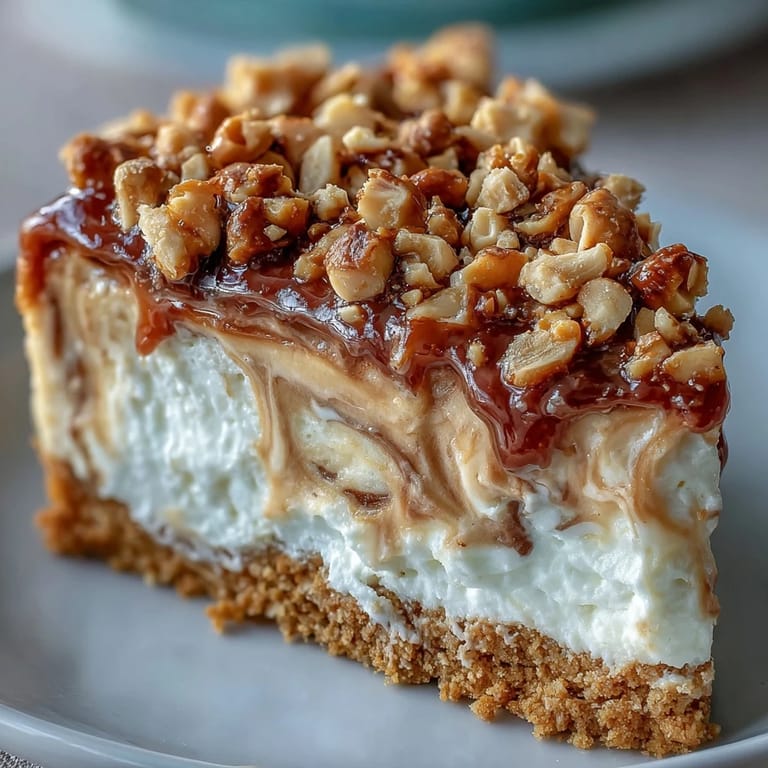
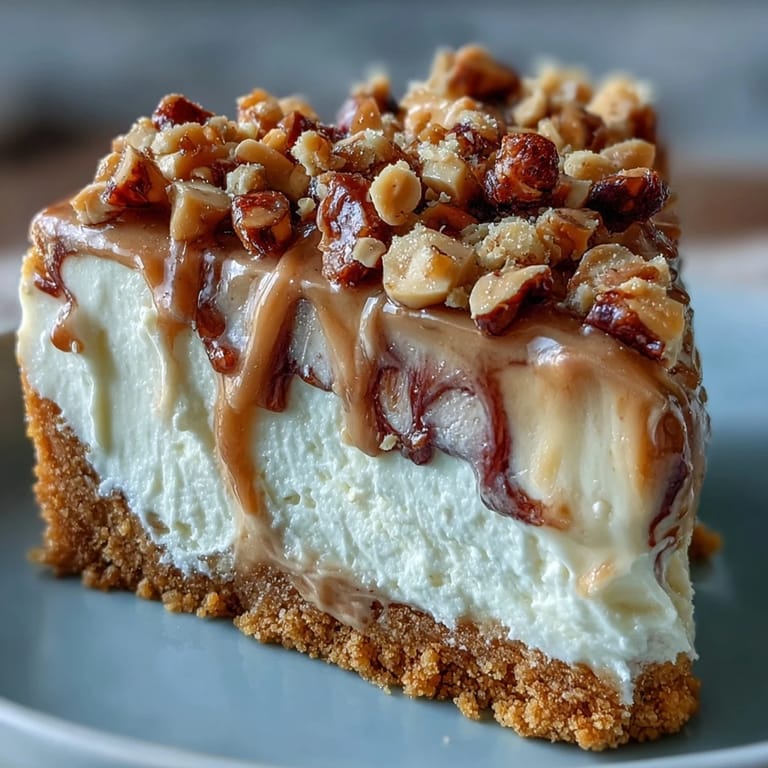
Save My roommate brought home a box of Nutter Butter cookies one Tuesday evening, and we were both standing in the kitchen debating whether they were actually good or just nostalgic when I realized they'd be perfect crushed into a cheesecake crust. That night turned into a full baking adventure, and now whenever someone mentions peanut butter desserts, this is what comes to mind—creamy, indulgent, and surprisingly easy to master.
I made this for my sister's birthday, and watching her face light up when she tasted that first bite—the way the peanut butter flavor hit before the cream cheese sweetness—made me realize this wasn't just dessert, it was the kind of thing people remember when they think about a celebration.
Ingredients
- Nutter Butter cookies (24 crushed): They give the crust a subtle salty-sweet depth that regular cookie crusts can't match, plus they hold together beautifully when mixed with butter.
- Unsalted butter (1/4 cup melted): Use unsalted so you control the saltiness; melting it first makes the crust mixture come together smoothly.
- Cream cheese (16 oz, softened): This needs to sit at room temperature for at least 30 minutes or it'll stay lumpy and ruin your texture, trust me on this one.
- Granulated sugar (1 cup): Adds sweetness and helps create that dense, creamy crumb structure cheesecake lovers crave.
- Vanilla extract (1 teaspoon): A small amount but it rounds out all the flavors and keeps the peanut butter from overpowering everything.
- Large eggs (3): Room temperature eggs mix in more smoothly and create a more uniform filling; cold ones can cause lumps.
- Creamy peanut butter (1/2 cup): The star ingredient here, so use a brand you actually love because you'll taste it in every bite.
- Heavy whipping cream (1 cup): Whips to silky clouds when cold; keep it chilled until the last moment.
- Powdered sugar (1/2 cup): For the whipped topping; it dissolves into the cream better than granulated sugar would.
- Chopped peanuts (1/4 cup optional): The crunch on top is optional but worth it for texture contrast.
Tired of Takeout? 🥡
Get 10 meals you can make faster than delivery arrives. Seriously.
One email. No spam. Unsubscribe anytime.
Instructions
- Set up your station:
- Preheat the oven to 325°F and grease your 9-inch springform pan, then line the bottom with parchment paper so the crust doesn't stick. Having everything ready before you start mixing makes the process feel less chaotic.
- Build the crust:
- Crush your Nutter Butter cookies into uneven pieces (some dust, some crumbs, a few bigger chunks for texture), then mix with melted butter until it feels like damp sand. Press it firmly into the pan using the flat bottom of a measuring cup, which gives you an evenly smooth surface, then bake for 10 minutes and let it cool completely.
- Cream the base:
- Beat the softened cream cheese and sugar together for 2 to 3 minutes on medium speed until it's pale and fluffy, scraping the bowl halfway through. This step incorporates air and prevents lumps, so don't skip it or rush it.
- Add the peanut butter magic:
- Mix in the vanilla extract and peanut butter until there are no streaks of either, but stop as soon as it looks combined. Over-mixing at this stage can make the filling dense and heavy.
- Incorporate the eggs carefully:
- Add each egg one at a time on low speed, mixing just until you don't see white streaks, then stop—this is where patience matters because over-beaten eggs create an airy, curdled filling. You want a smooth, slightly thick batter that moves slowly when you stir it.
- Pour and bake:
- Pour the filling over the cooled crust and smooth the top with a spatula, then bake for 50 to 60 minutes until the edges are set but the very center still jiggles slightly when you gently shake the pan. The jiggle is your signal that it's done; over-baked cheesecake turns dry and grainy.
- The cooling ritual:
- Turn off the oven and crack the door open about 4 inches, then let the cheesecake sit inside for a full hour—this gradual temperature drop prevents the stress cracks that plague so many cheesecakes. It feels like a long wait, but it's the secret to a pristine surface.
- Chill and set:
- Remove it from the oven and refrigerate for at least 4 hours, but overnight is even better because the flavors meld and the texture becomes perfectly dense. Cold cheesecake also slices more cleanly, so plan ahead if you can.
- Top and finish:
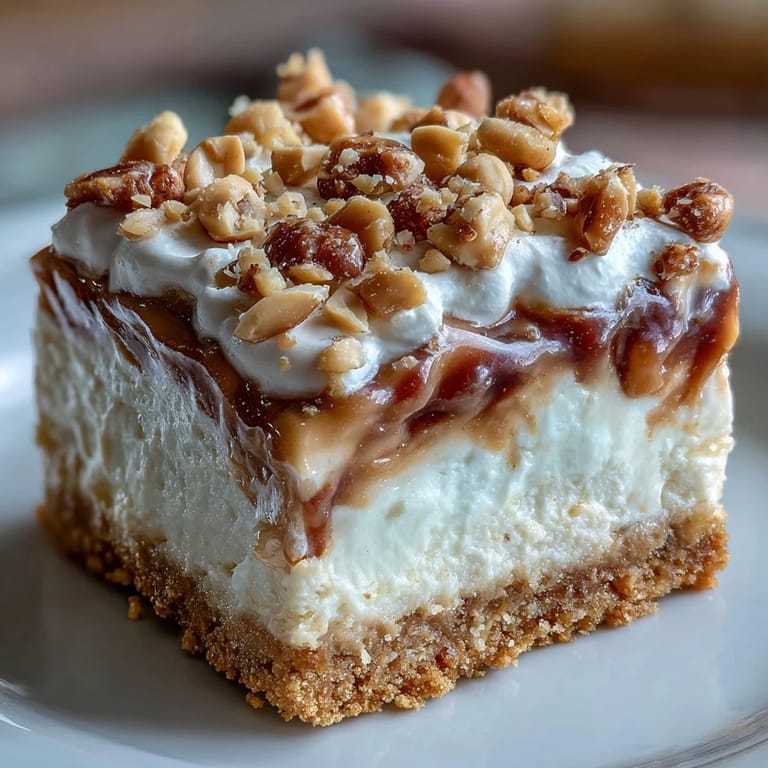
- Whip the heavy cream with powdered sugar until stiff peaks form, spread it generously over the chilled cheesecake, then scatter chopped peanuts and maybe a few extra Nutter Butter cookies on top. Slice while cold and watch how cleanly it cuts.
 Save
Save There's something about pulling a perfect cheesecake out of the fridge and watching someone's eyes go wide when they see that golden cookie crust and fluffy whipped cream topping that makes all the waiting feel worth it. This dessert has a way of turning an ordinary dinner into something memorable.
The Water Bath Secret
If you want to take this cheesecake to the next level and don't mind a little extra work, bake it in a water bath—place the springform pan inside a larger roasting pan filled with about an inch of hot water. The gentle, moist heat creates an impossibly creamy texture and almost eliminates cracking entirely, though you'll need to wrap the outside of the springform pan with foil so water doesn't seep in through the seams.
Make-Ahead Magic
This cheesecake actually improves when made a day or two ahead because the flavors have time to develop and deepen—the peanut butter becomes more pronounced and the cream cheese flavor becomes less sharp and more refined. You can even bake it, chill it, wrap it tightly, and freeze it for up to a month; just thaw it in the refrigerator overnight before serving.
Flavor Variations That Work
Once you nail the basic version, you can start playing with it—add a swirl of chocolate through the filling before baking, drizzle the baked cheesecake with warm caramel sauce before topping with whipped cream, or even mix a tablespoon of espresso powder into the filling for a coffee-peanut butter situation that's unexpectedly delicious. The framework is solid enough to handle experimentation without falling apart.
- A drizzle of melted chocolate over the whipped cream topping adds elegance and keeps people coming back for another bite.
- Substitute natural peanut butter if you want a less sweet, more intensely peanutty flavor, though you might need to add an extra tablespoon of sugar to compensate.
- If peanut allergies are a concern, swap the peanut butter for almond or sunflower seed butter and use a nut-free cookie for the crust.
 Save
Save This cheesecake has become the dessert I turn to when I want to impress without overthinking it. Every time I serve it, I'm reminded that sometimes the best recipes are the ones that look fancy but actually let you breathe in the kitchen.
Recipe FAQ
- → How long should I chill the cheesecake before serving?
Refrigerate the cheesecake for at least 4 hours, though overnight chilling is recommended for the best texture and flavor. This allows the filling to set completely and the flavors to meld together beautifully.
- → Can I make this cheesecake ahead of time?
Absolutely! This cheesecake actually tastes better when made a day ahead. Prepare it up to 24 hours in advance, wrap tightly, and store in the refrigerator. Add the whipped cream and garnishes just before serving for the freshest presentation.
- → Why did my cheesecake crack and how can I prevent it?
Cracks occur from over-mixing, rapid temperature changes, or over-baking. Prevent them by mixing eggs just until combined, using a water bath, and letting the cheesecake cool gradually in the oven with the door cracked open for one hour after baking.
- → Can I use natural peanut butter instead of creamy?
While you can use natural peanut butter, creamy commercial peanut butter works best as it provides a smoother texture and more consistent results. Natural peanut butter may separate and affect the creaminess of the filling.
- → What's the best way to get clean slices when serving?
Use a sharp knife dipped in hot water and wiped clean between each slice. Chill the cheesecake thoroughly before cutting, and run the knife under hot water for the cleanest, most professional-looking slices.
- → Can I freeze this cheesecake for later?
Yes! Wrap the cooled cheesecake tightly in plastic wrap and foil, then freeze for up to 2-3 months. Thaw overnight in the refrigerator before serving. Add whipped cream and garnishes after thawing for the best texture.