 Save
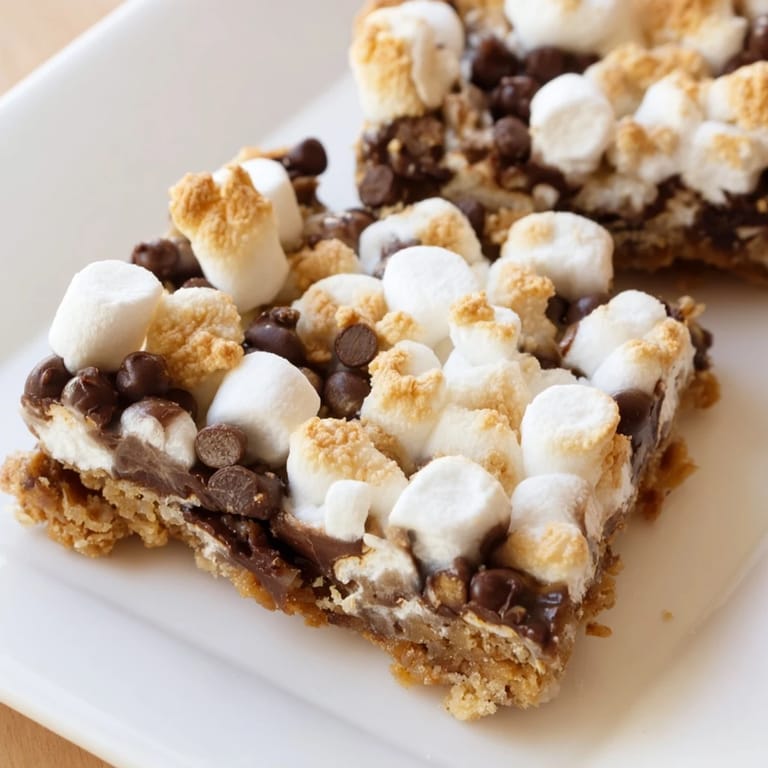
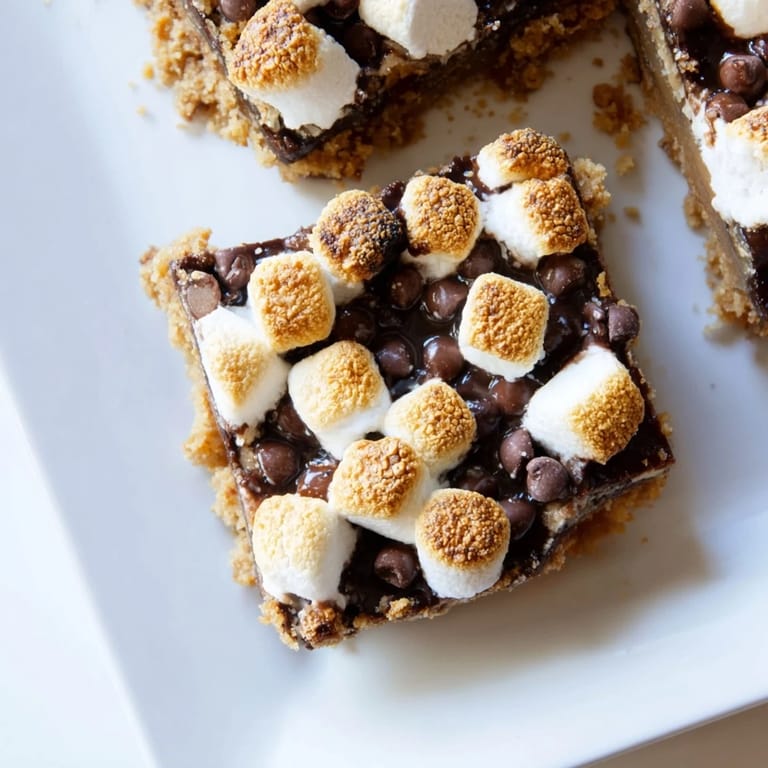
Save There's something about s'mores that stops time. My cousin pulled these bars out of her oven one rainy afternoon when we were supposed to be camping but the weather had other plans, and suddenly we had all the campfire magic without leaving her kitchen. The marshmallows turned golden, the chocolate got gooey, and nobody even missed the tent. They tasted exactly like those late-night moments around a fire, except we could eat as many as we wanted without the sticky fingers and ash.
I made these for a bake sale at my daughter's school, and they disappeared before I even turned around. One dad came back asking if I'd made them fresh that morning because he swore he could taste the toasted marshmallow, not the canned kind. It's moments like that when you realize a simple dessert can actually impress people.
Ingredients
- Graham cracker crumbs (1 1/2 cups): The foundation of everything—use fresh crackers if you can, as stale ones won't bind as well and the flavor gets a bit dusty.
- Unsalted butter, melted (1/2 cup): This is what makes the crust taste buttery and rich, so don't skimp or swap for oil.
- Granulated sugar (1/4 cup): A small amount adds just enough sweetness to the crust without making it candy.
- Semi-sweet chocolate chips (1 1/2 cups): The real MVP—they create a melty layer that holds everything together and tastes like childhood.
- Mini marshmallows (3 cups): These toast faster than regular marshmallows and give you those charred edges everyone loves.
Tired of Takeout? 🥡
Get 10 meals you can make faster than delivery arrives. Seriously.
One email. No spam. Unsubscribe anytime.
Instructions
- Build your crust:
- Mix graham cracker crumbs with melted butter and sugar until it feels like damp sand, then press it firmly into your parchment-lined pan. The key is pressing hard enough that it holds together but not so hard you crush out all the air.
- Toast the foundation:
- Bake the crust for 8 minutes until it smells toasted and slightly golden. You're not baking it all the way through—just enough so it sets and gets a little firmer.
- Melt the chocolate:
- Scatter chocolate chips over the warm crust and let the oven's heat soften them for 2 minutes, then spread with a spatula until smooth. The warmth of the crust does most of the work if you're patient.
- Top with marshmallows:
- Press mini marshmallows gently into the chocolate layer in an even layer so they toast evenly. Pressing too hard squishes them into the chocolate; gentle is the way.
- Toast until golden:
- Bake for 10–12 minutes until marshmallows are puffy and golden brown on top. Keep an eye on them toward the end—marshmallows can go from golden to charred in about 30 seconds.
- Cool and chill:
- Let the bars cool completely, then refrigerate for at least an hour so you can make clean cuts. Cold chocolate is your friend here—it slices like a dream.
- Slice and serve:
- Use the parchment overhang to lift the entire block out of the pan, then cut into 16 squares with a sharp knife. A quick wipe of the blade between cuts keeps things neat.
 Save
Save My neighbor brought these to a block party on a summer evening, and we all sat on the curb eating them straight from the pan with forks, talking until the sun went down. That's when I knew they'd become something more than just a dessert—they were a reason to gather.
Why the Oven Method Wins
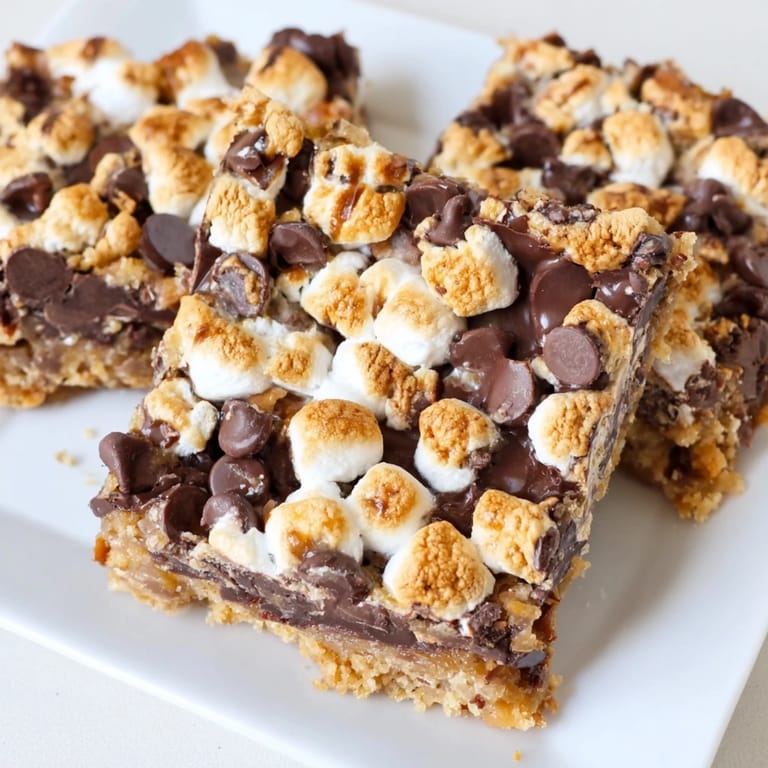
Baking s'mores bars instead of assembling them individually means you get consistent toasting across every single piece. The marshmallows puff up uniformly, the chocolate gets silky without separating, and the graham cracker crust stays crisp on the bottom instead of getting soggy from melted chocolate that's been sitting too long.
Flavor Variations That Work
The base recipe is perfect as is, but once you've made it once, you'll start thinking about tweaks. A tiny pinch of sea salt sprinkled on top before baking brings out the chocolate and makes people wonder what makes these taste so good. Milk chocolate chips instead of semi-sweet give you a sweeter, less intense bar that feels more indulgent. Digestive biscuits create a more European flavor if you want to experiment, though they won't have quite the same nostalgic taste.
Serving and Storage Secrets
These are best enjoyed slightly warm, when the chocolate is still a little soft and the marshmallow exterior has that pleasant chew. They'll keep in an airtight container at room temperature for about three days, though they taste freshest on day one. If you warm a slice for a few seconds in the microwave before serving, it's almost like eating a s'more fresh off the fire.
- Cut them into smaller pieces if you want them as party bites—they're rich enough that a little goes a long way.
- Stack them between parchment paper if you're storing them so they don't stick together.
- Make a double batch and freeze half for up to two weeks; they thaw at room temperature in about 20 minutes.
 Save
Save These bars bring back that feeling of sitting around a fire without any of the complications, and somehow they taste even better because you can have seconds without anyone knowing. They're proof that the best desserts are the ones that make people smile before they even taste them.
Recipe FAQ
- → What is the best way to ensure the crust holds together?
Mix graham cracker crumbs thoroughly with melted butter and sugar, then press firmly into the pan before baking to create a solid base.
- → How can I achieve perfectly toasted marshmallows?
Bake the marshmallows on top at 350°F for 10–12 minutes or until they turn golden and slightly puffed for an even toasted texture.
- → Can I use a different type of chocolate?
Semi-sweet chocolate chips work best, but milk or dark chocolate can be swapped depending on your preferred sweetness and richness.
- → How do I make clean slices without sticking?
After cooling, chill the bars for at least an hour before slicing. Using parchment paper to lift bars helps maintain shape.
- → Are there alternative crust options?
Yes, you can substitute graham crackers with digestive biscuits or add a pinch of sea salt to the crust for enhanced flavor.